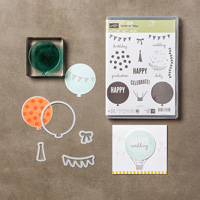
The greeting can be stamped or printed on the cardstock insert which is shown on the right. I chose to use a stamp from the Label Love stamp set for my greeting.


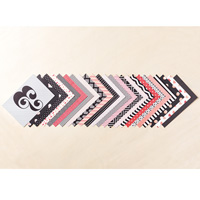
I used a piece of 5 1/2" X 8 5/8" Designer Series Paper that cut 5.5″ x 8.5. I placed the long edge at the top of my paper trimmer and scored 2 1/8″ from the right edge, flipped it so that the bottom of the long edge is at the top, and then scored side at 2 1/4". Note: when you cut the paper, be sure that the design will be right side up when it is in the landscape position.
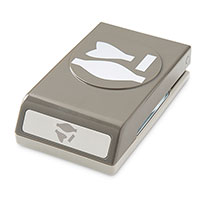
Fold each end to the center and then fold the corners to make the collar. Adhesive should be used only on the bottom inside of the card only, the tops must be left open for the insert. Use glue dots or monoadhesive glue to attach the bow tie.
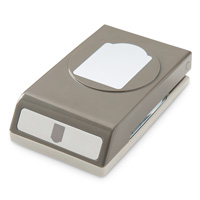
You will need a 4 x 5 piece of coordinating cardstock for the insert base. Stamp your greeting on a piece of Whisper White cut to 3¾”x 4¾.”
I cut rectangle of designer paper for the pocket and angled the corners. I think it should have been a teeny bit larger.
This would make a wonderful Father's Day card. It would be simple to enlarge the dimensions a bit to make a larger, more impressive card. Just be sure the bow tie doesn't look lost.